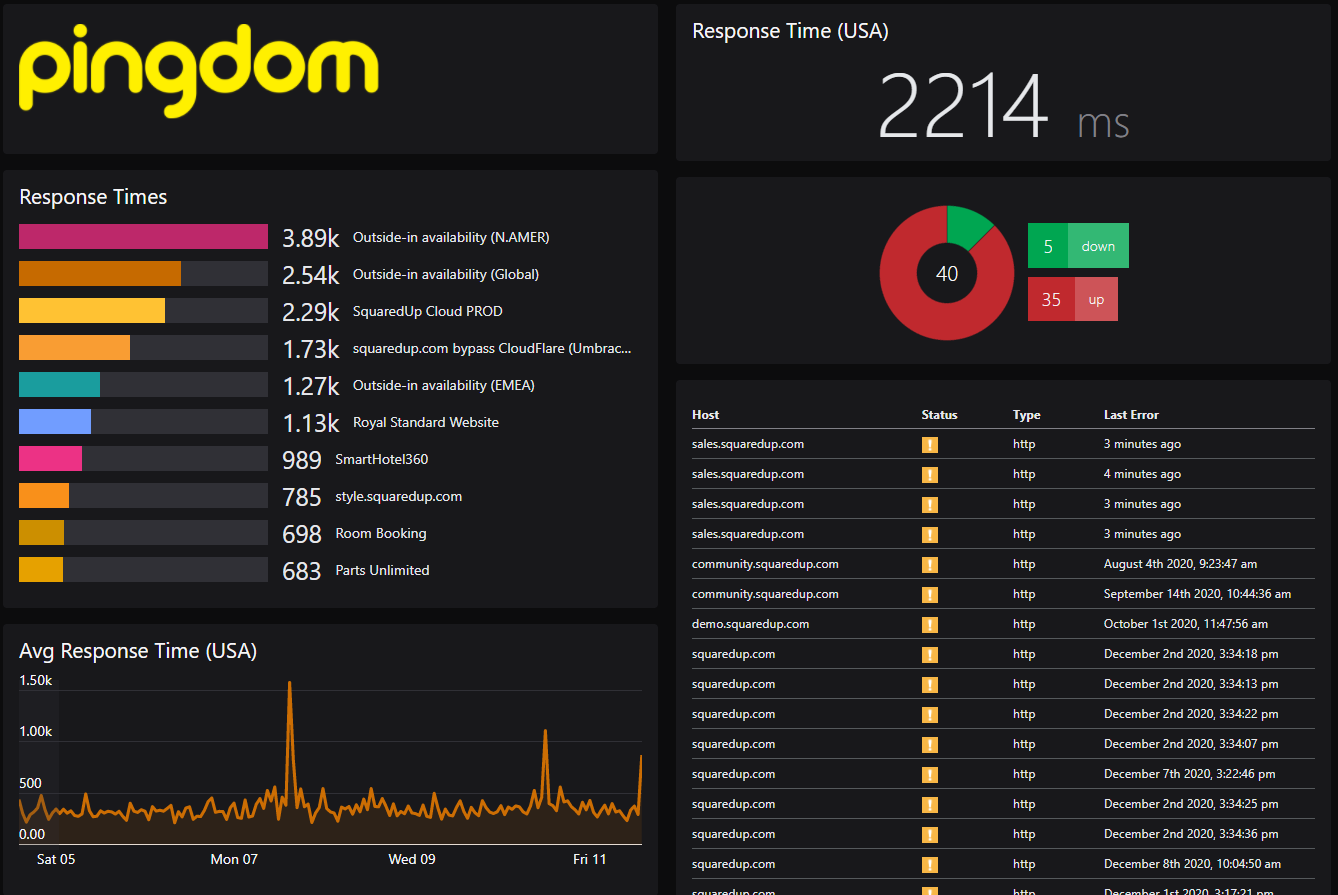
Web API tile with Pingdom
This article covers how to use the Web API tile to display live API data from Pingdom on a dashboard or perspective.
SquaredUp DS uses the Pingdom account that you configure, and queries will be updated as the page updates, by default every minute.
If you need more information about using the Web API tile in general see How to use the Web API tile
This article covers:
- Adding a Pingdom provider in SquaredUp DS
- Walkthrough: Adding a Web API Grid tile to a dashboard to show Pingdom checks
- Walkthrough: Adding a Web API Scalar tile to a dashboard to show response time
- Walkthrough: Adding a Web API Donut tile to show a status count
- Walkthrough: Adding a Web API Bar Graph tile to show last response time
- Walkthrough: Adding a Web API Line Graph tile to show the average response time
- Walkthrough: Adding a Web Status tile for Pingdom checks
Hints and Tips
- Look at the Pingdom API documentation or speak to your Pingdom expert.
- Use the grid designer to improve data formatting see How to use the Grid Designer.
You may also be interested in watching our webinar - "Integrating with Splunk, New Relic, Solarwinds and more" (38 mins) which demos different methods, or jump to the part about Pingdom.
Prerequisites
- The SquaredUp server must have access to your Pingdom instance, since it is the server that connects to Pingdom, and not your users' browser.
- If you use a proxy server you may need to configure the proxy to allow the SquaredUp server to communicate with Pingdom (How to configure SquaredUp DS to use a proxy).
- A Pingdom instance. You may need some help from a Pingdom admin to get an account with the correct privileges.
Adding a Pingdom provider in SquaredUp DS
Adding a Pingdom provider is a one-time configuration task, and once you have a Pingdom provider configured you can use it with multiple tiles.
Walkthrough: Adding a Web API Grid tile to a dashboard to show Pingdom checks
It is important to use http get mode and to set the key path in the response data section to checks.
- On the top navigation bar in SquaredUp DS click the + to create a new dashboard, and give your dashboard a title.
- Click on Integrations > Web API.

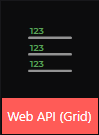
- Select Web API (Grid).
- Leave the scope section blank for this walkthrough..
- In the provider section select the Pingdom provider that you created earlier.
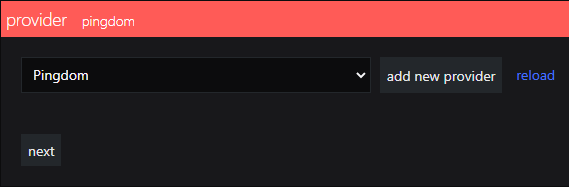
- In the http mode section leave the http method set to get.
- Type
checksin the box after the URL. The URL shown here is that specified when you created the Pingdom provider.
- Leave the headers & data section as it is.
- In the response data section, type
checksinto the box.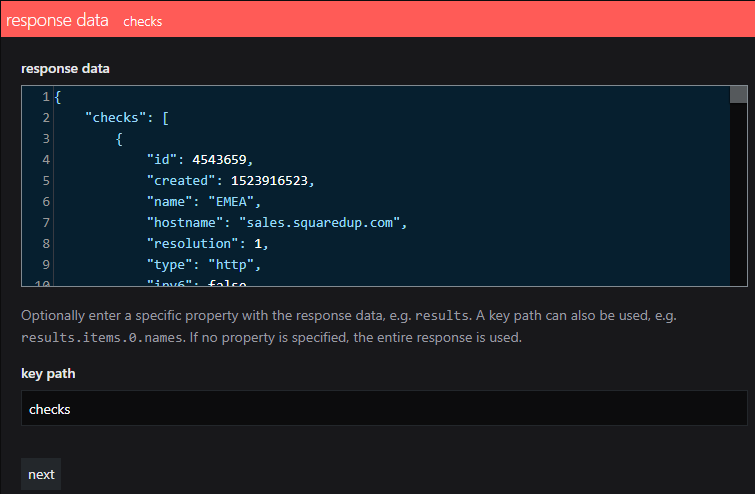
- Click next to move to the grid columns section.
Here we are going to use the grid designer make the data more meaningful. For more information see How to use the Grid Designer. - Click hide next to some of the columns you might not wish to show, e.g. id, created, resolution, ipv6, verify_certifcate.
- You may like to rename the columns to make them more readable, e.g. name to Check Name, lasttesttime to Last Test, lastresponsetime to Response (ms), status to Status, hostname to URL, type to Type, lasterrortime to Last Error.
- The time values are currently shown in UNIX time format. Click edit next to Last Test and paste the following in to the custom template box:
{{timeago(value*1000)}}
This shows how long ago the event occurred.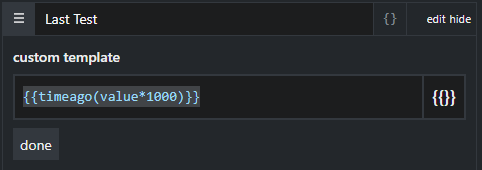
- Repeat the above step for Last Error.
- Leave the grid options section as it is.
- You may wish to change the order the columns by dragging them into position.
- Click done.

Walkthrough: Adding a Web API Scalar tile to a dashboard to show response time
- Click on the Web API tile.
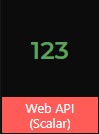
- Select Web API (Scalar).
- Leave the scope section blank for this walkthrough..
- In the provider section select the Pingdom provider that you created earlier.
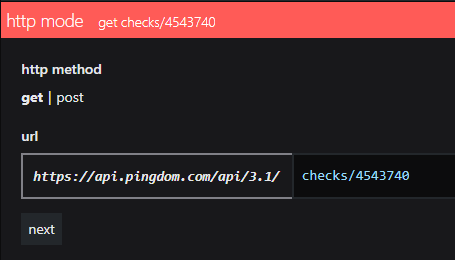
- In the http mode section leave the http method set to get.
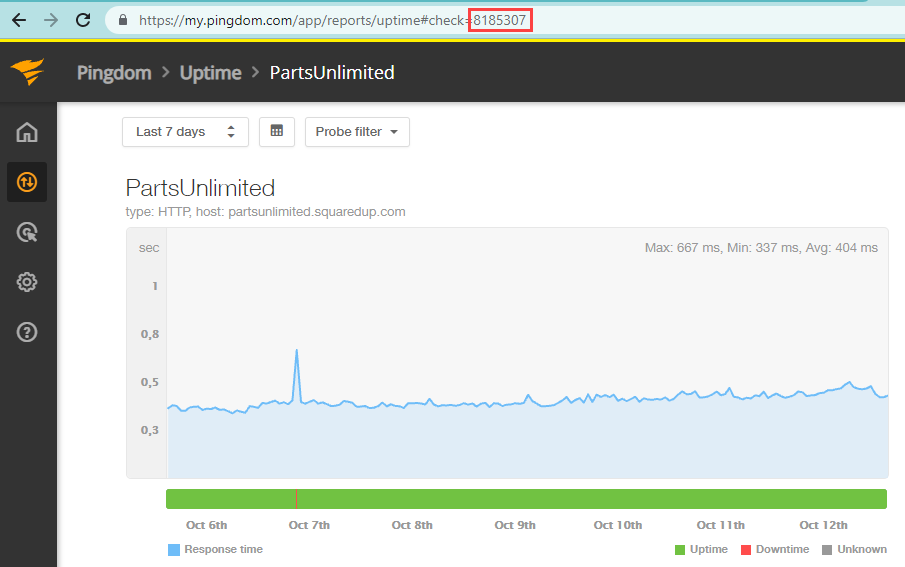
- In the box following the URL you need to type
checks/<check id>where <check id> is the number shown in the URL when you browse to that check in Pingdom.Browse to your Pingdom instance, and the check you are interested in.The <check id> is the number shown in the URL:
- In the response data section, type
check.lastresponsetimeinto the key path box.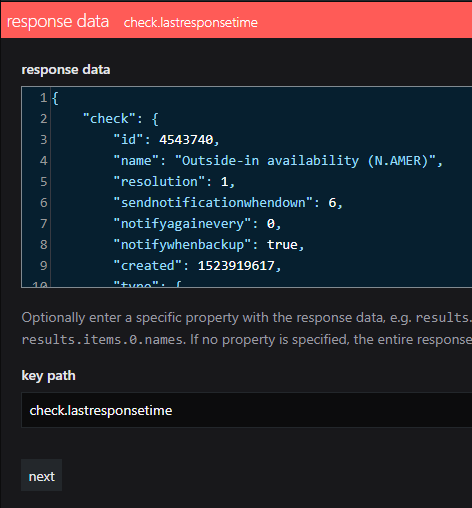
- Click next to move to the scalar section.
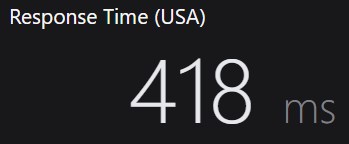
- In the unit box type
msfor milliseconds. - Click done.
Walkthrough: Adding a Web API Donut tile to show a status count
- Click on the Web API tile.
- Select Web API (Donut).
- Leave the scope section blank for this walkthrough..
- In the provider section select the Pingdom provider.
- In the http mode section leave the http method set to get.
- In the box following the URL you need to type
checks/. - In the response data section, type
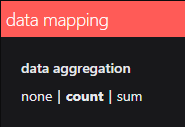
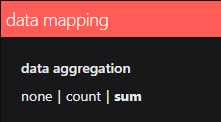
checksinto the key path box. - In the data mapping section click on count under data aggregation:
- In the grouping box either type
{{status}}or select status from the drop down list: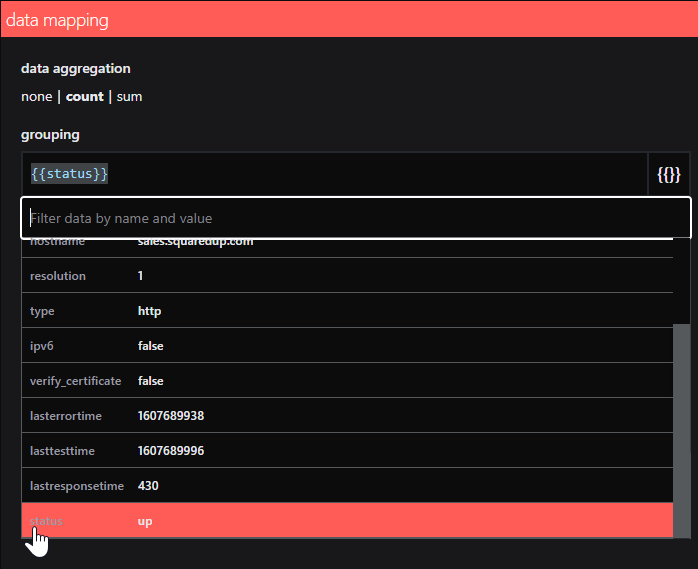
- Adjust the display section as you require, for example you may like to change the color palette to health1:
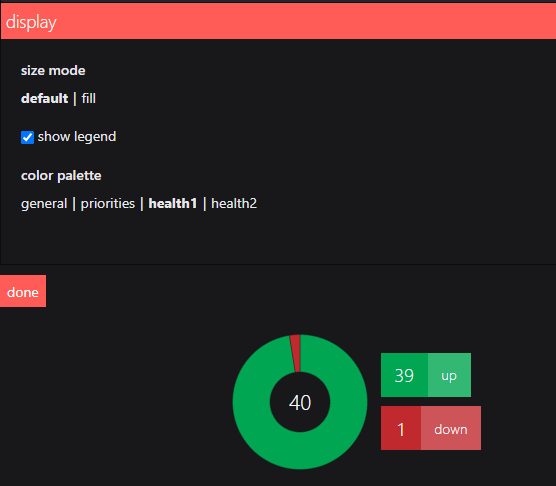
- Click done.
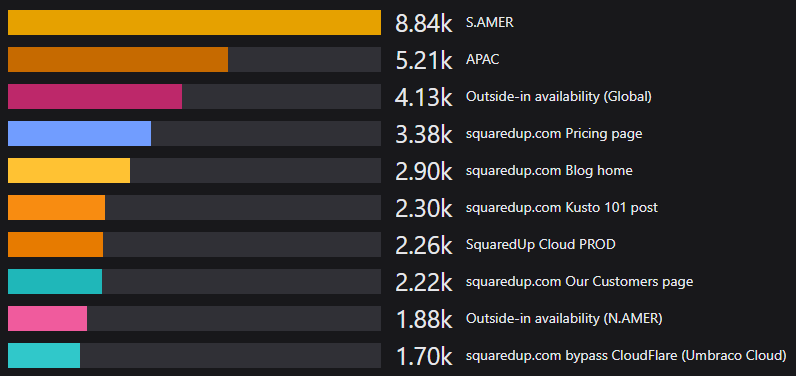
Walkthrough: Adding a Web API Bar Graph tile to show last response time
- Click on the Web API tile.
- Select Web API (Bar graph).
- Leave the scope section blank for this walkthrough.
- In the provider section select your Pingdom provider.
- In the http mode section leave the http method set to get.
- In the box following the URL you need to type
checks/. - In the response data section, type
checksinto the key path box. - In the data mapping section click on sum under data aggregation:
- In the grouping box either type
{{name}}or select name from the drop down list: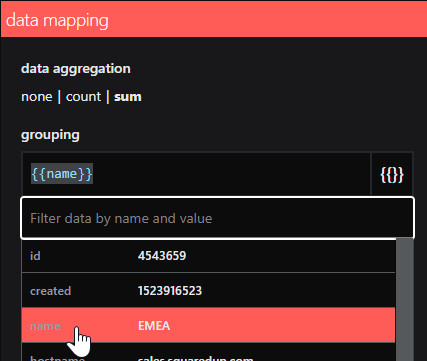
- In the metrics box either type
{{lastresponsetime}}or select lastresponsetime from the drop down list: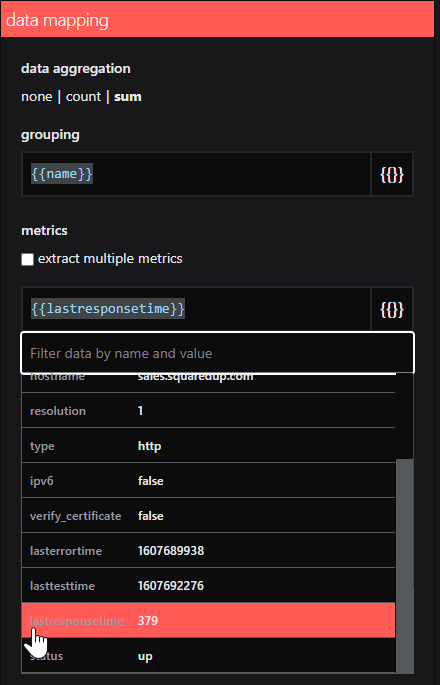
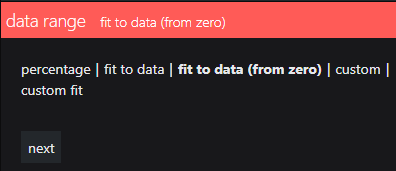
- In data range select fit to data (from zero):
- The sort section allows you to configure how the values are sorted and how many are shown:
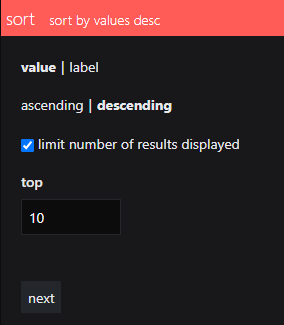
- Label can be left as auto.
- Color allows you to turn off multiple colors.
- Click done.
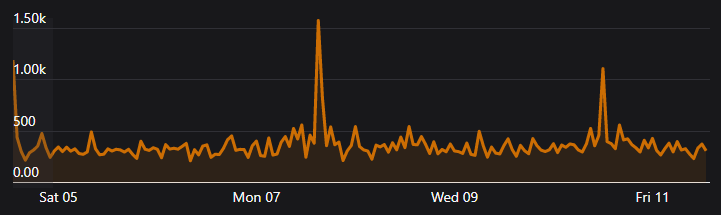
Walkthrough: Adding a Web API Line Graph tile to show the average response time
- Click on the Web API tile.
- Select Web API (Line graph).
- Leave the scope section blank for this walkthrough.
- In the provider section select your Pingdom provider.
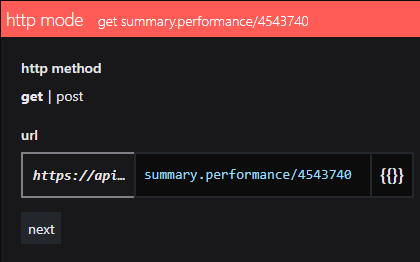
- In the http mode section leave the http method set to get.
- In the box following the URL you need to type
summary.performance/<check id>where <check id> is the number shown in the URL when you browse to that check in Pingdom: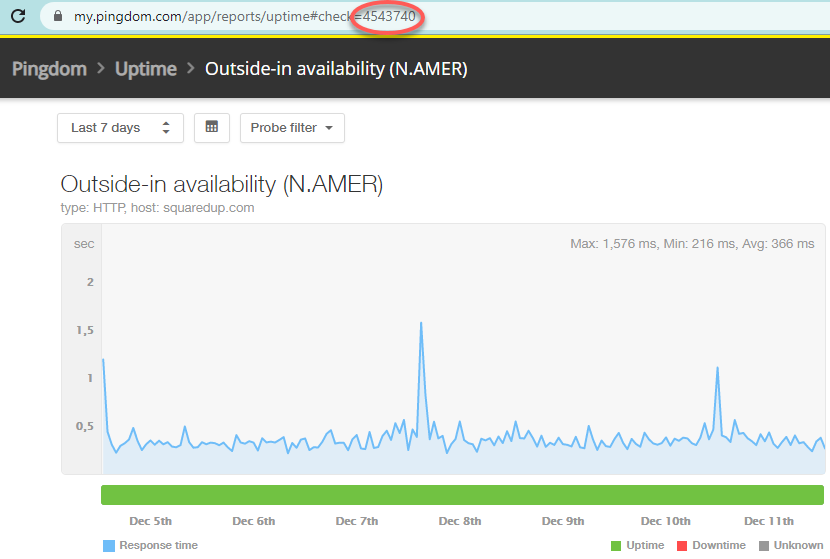
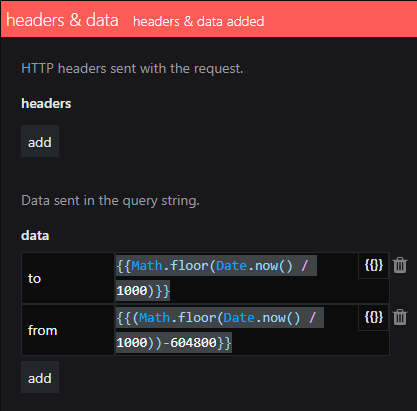
- You can use the data section of headers and data to configure the data period. 604800 is 7 days in seconds.
- In the response data section, type
summary.hoursinto the key path box.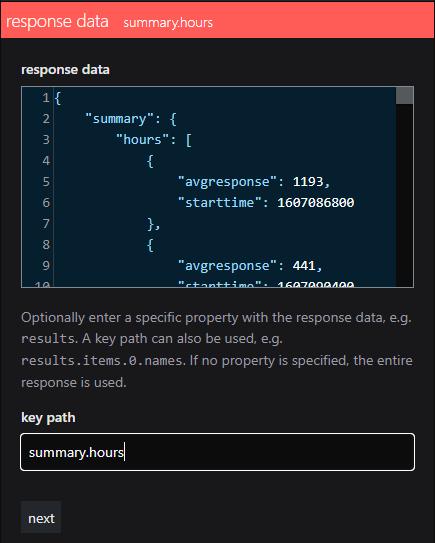
- In the data mapping section type
{{starttime*1000}} into the timestamp box, to convert seconds to milliseconds: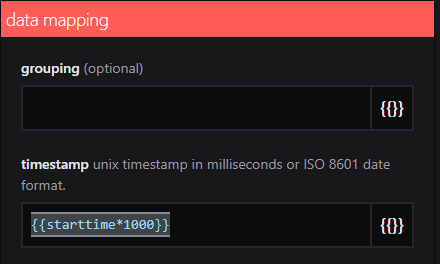
- In the metrics box either type
{{avgresponse}}or select avgresponse from the drop down list: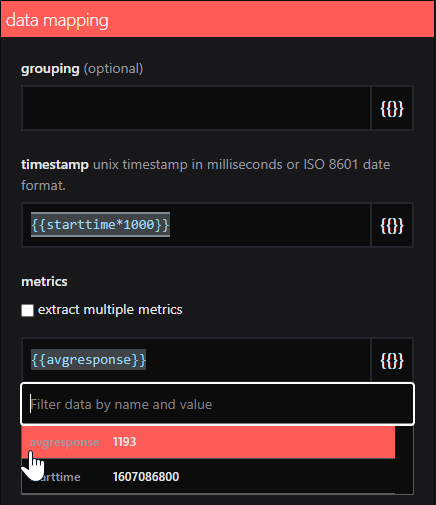
- In data range select fit to data (from zero):
- Click done.
Walkthrough: Adding a Web Status tile for Pingdom checks
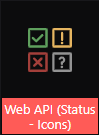
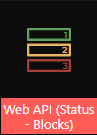
- Click on the Web API tile.
- Select one of the Web API Status tiles, either Web API (Status - Icons) or Web API (Status - Blocks). They are both configured in the same way, so this walkthrough will work for either.
- In the provider section select your Pingdom provider.
- In the http mode section leave the http method set to get.
- In the box following the URL you need to type
checks/. - In the response data section, type
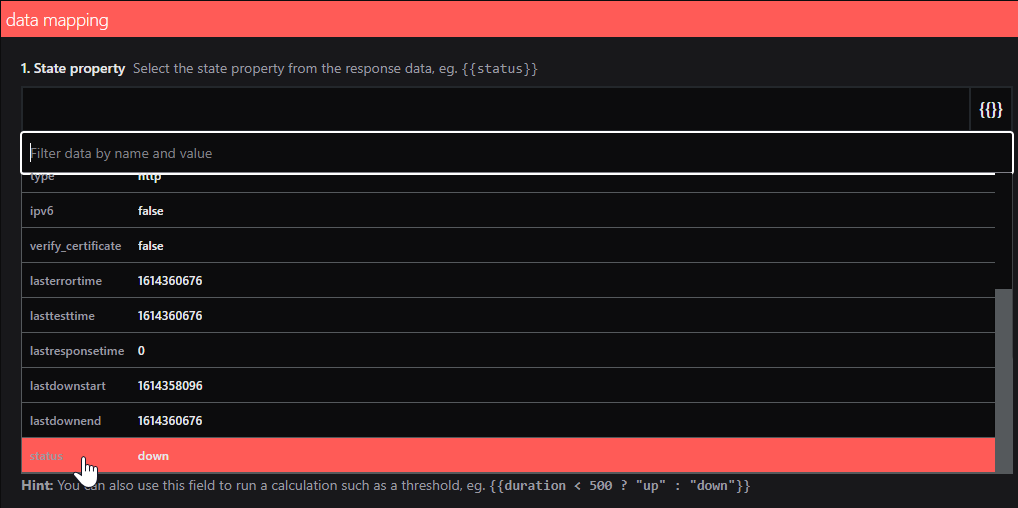
checksinto the key path box. - The data mapping section is where you map a state property to the Healthy, Critical and/or Warning states. Under 1. State property click on the mustache helper butter to open the dropdown list, and scroll down to click on the status property:


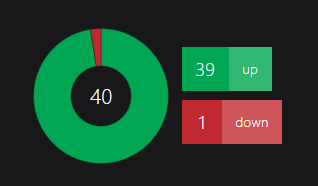
- In the 2. State mapping section type
upnext to Healthy, and typedownnext to Critical. This means that checks where the status is up will be shown with either a green icon or a green block, and checks where the status is down will be shown with either a red icon or a red block: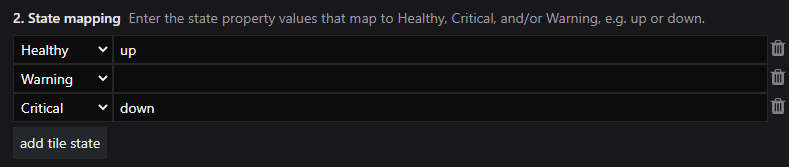
- Tick the box for Hide tiles where the state is unknown, so that checks which are neither up nor down do not show as gray:

- In link options you can optionally use the URL of your Pingdom instance followed by {{id}} so that users with a Pingdom login, can click on an icon to be taken to that check in Pingdom:
https://my.pingdom.com/app/reports/uptime#check={{id}}

- The sort section allows you to configure how the values are sorted and grouped. You may like to click group by, and healthstate and descending.
- You can also toggle between list, column and tile views using the toggle zoom button at the top right of the tile:

- Label and sublabel sections can be left as they are.
- Click done.
