Pingdom provider
Before you configure the Web API tile for use with Pingdom you need to create a Pingdom provider in SquaredUp DS. For more information on how to use the tile see How to use the Web API tile with Pingdom
Adding a provider is a one-time configuration task, and once the provider has been configured it can be used each time you configure a tile.
You may like to refer to the Pingdom API documentation or speak to your Pingdom expert.
For Pingdom the provider must be created as a simple provider:
In SquaredUp DS navigate to the right-hand menu ☰ > system > Integrations
- Under Integrations click Web API.

- Click the authentication type Simple
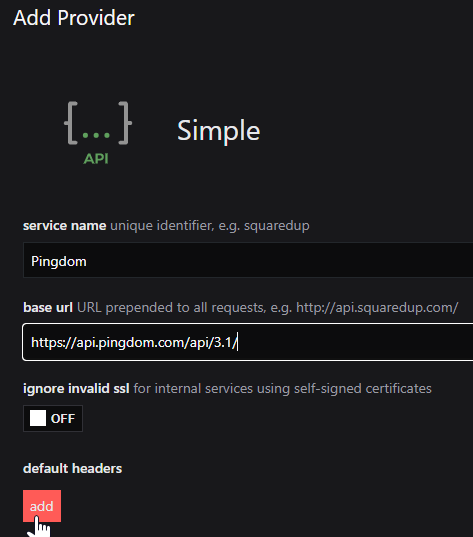
- In the service name box type in a suitable name, e.g. Pingdom
- The base URL should be the current Pingdom API URL, for example:
https://api.pingdom.com/api/3.1/
We recommend you include the API version here in the base URL, so if the API version changes you only need to update it here, rather than in every tile. - Under default headers click add
- Add the following:
name:authorization
value:Bearer<API token from Pingdom>You can create an API key (token) by logging in to Pingdom > Settings > Pingdom API > Add API token
Enter a Name, leave the Access Level set to Read access and click Generate token.
Copy the API token from Pingdom before closing the window:
Paste the API token into the authorization value box in SquaredUp DS, prepended by the word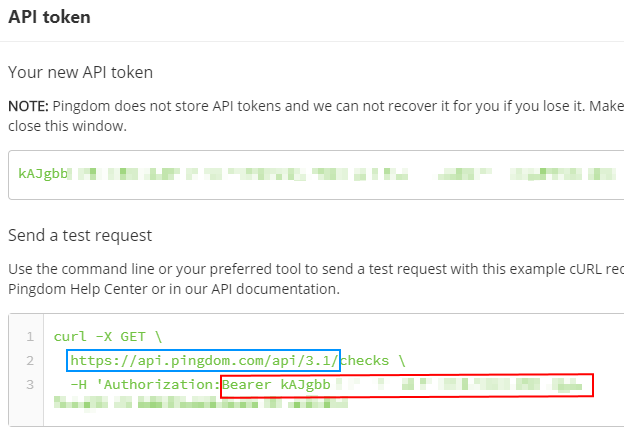
Bearerand a space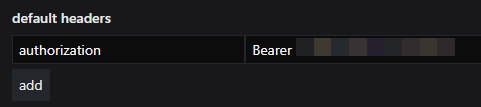
- Click Save.